ISO 13485:2016 Certified
40+ Years of Excellence
600+ Products
Download Catalog
BUYER GUIDE | BIOMEDICAL INSTRUMENT REPAIR

Laparoscopic Instrument Repair Checklist

A laparoscopic instrument should be removed from clinical use when it shows poor jaw alignment, damaged insulation, a bent shaft, stiff rotation, faulty ratchet operation, reduced cutting performance, leakage, blocked channels, loose components or an unreliable electrical connection.

Do not continue using a defective instrument until the end of an operating list. Quarantine it, record the fault and send it for assessment by a qualified repair provider. This checklist helps hospitals, CSSD teams, biomedical engineers and procurement departments identify repair needs, document faults and verify instruments after service.

ISO 13485:2016 Certified
CE Certified Quality
Biomedical Repair & Service
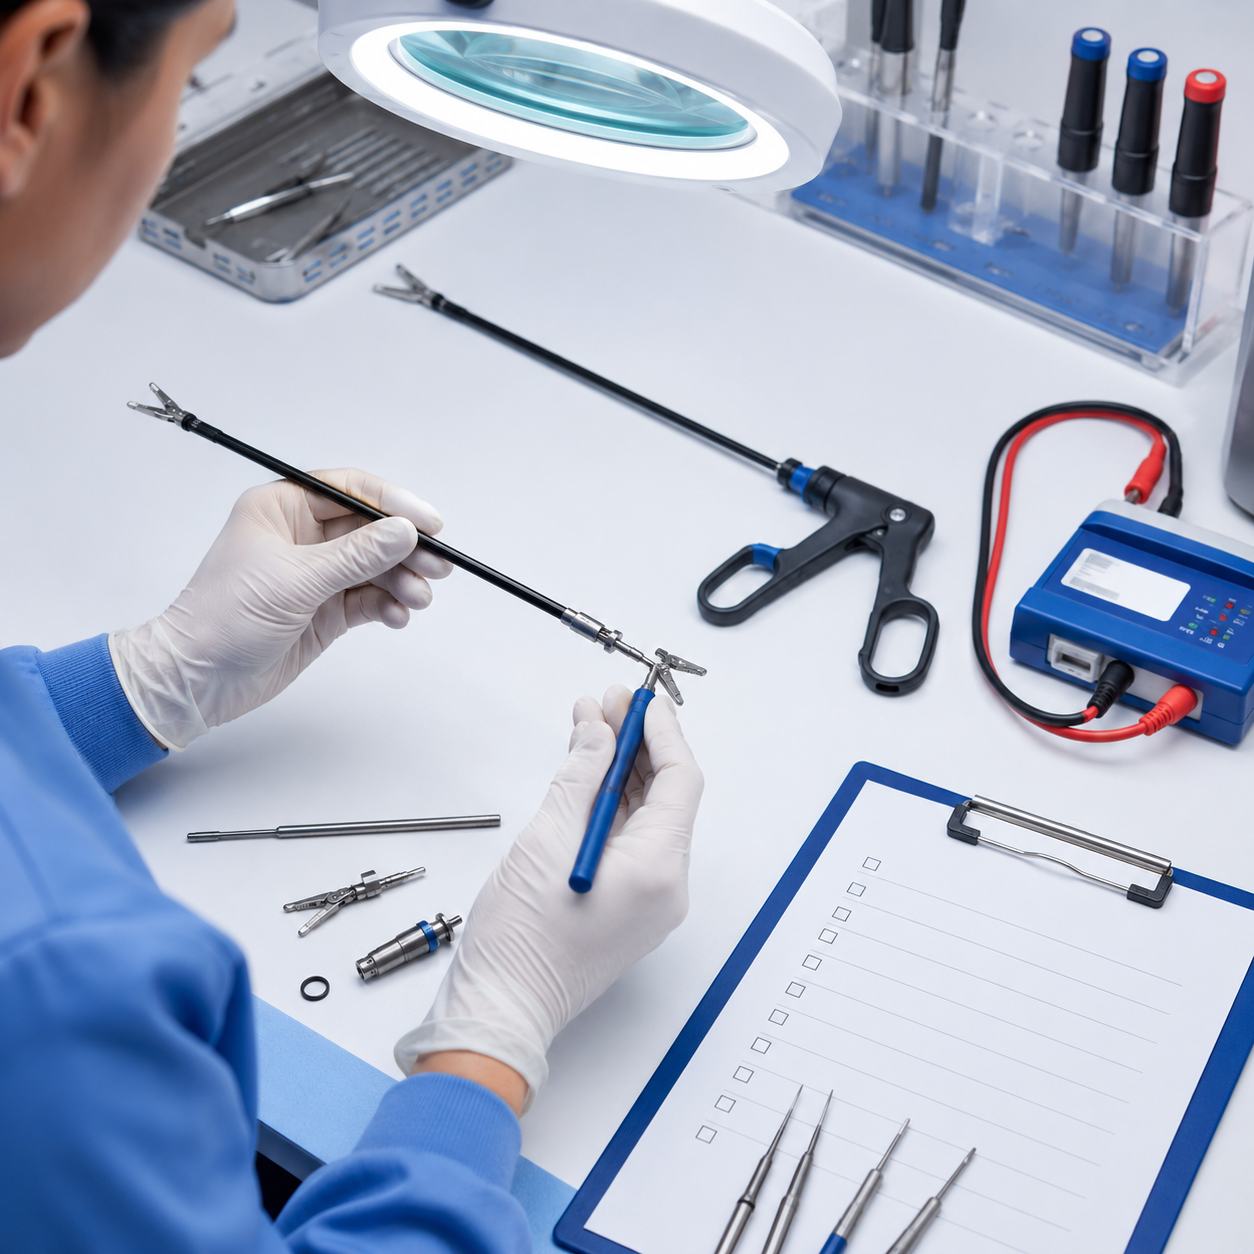
Laparoscopic Repair Checklist
Fault Handling

Immediate Action Checklist

Follow these 15 steps when an instrument fault is reported in the OR or CSSD.

  • ☐ Stop using the instrument immediately • Segregate from usable stock
  • ☐ Keep all detachable components and inserts together
  • ☐ Record the exact product name, manufacturer, and product code
  • ☐ Record the hospital asset or serial number • Document the department
  • ☐ Note the reported fault details (when it occurs and frequency)
  • ☐ Identify whether the instrument contacted a patient
  • ☐ Follow the hospital's decontamination and cleaning protocol
  • ☐ Attach a visible quarantine or repair tag stating "Do Not Use"
  • ☐ Store in the designated skills-lab or CSSD quarantine area
  • ☐ Notify the CSSD or biomedical engineering department
  • ☐ Check whether similar instruments in the set have the same problem
  • ☐ Review the manufacturer's instructions for permitted servicing
  • ☐ Send the instrument only through an approved technical repair process
  • ☐ Update the instrument's digital or physical register logs

A defective instrument should never be returned to a normal instrument tray merely because the fault cannot be reproduced immediately.

Inspection Matrix

Repair Checklist Summary

Common faults and required actions by instrument section.

Instrument Area Common Faults Required Action
JawsMisalignment, worn serrations, loose inserts, chipped teethRemove from use and assess jaws
ShaftBending, dents, rough movement, cracked surfaceInspect alignment and internal mechanism
HandleCracks, stiffness, excessive play, link breakageAssess linkage, hinge and housing
RatchetDoes not lock or release correctly, releases under forceRepair or replace the ratchet mechanism
RotationStiff, loose or uncontrolled rotational movementAssess rotational assembly components
InsulationCuts, cracks, pinholes, peeling or burn marksElectrical integrity and insulation assessment
ConnectorBent pins, loose connection, corroded contactElectrical inspection and testing
LumenBlockage, reduced suction/irrigation flow, valve leakageReprocess and inspect internal channel
ValvesLeakage, sticking, spring wear or incomplete closureService or replace compatible seals
TelescopeCloudy image, damaged distal lens, bent tube, moistureSpecialist optical assessment
Light cableDark spots, low light transmission, damaged adapterFibre transmission and connector assessment
ScissorsPoor cutting, blade gap, damaged tip, tissue tearingSharpen, realign or replace insert
Needle holderNeedle slippage, worn tungsten inserts, stiff handleJaw insert, grip tension and ratchet assessment
TrocarWorn primary seal, leaking valve, bent cannulaReplace seal or assess the complete system
Quality Protocols

Step-by-Step Repair Workflow for Hospitals

1. Identify and Describe

Step 1: Identify the Exact Instrument:

Record the name, manufacturer, product code, serial/asset number, diameter, length, jaw pattern, and energy modality. Avoid broad terms like "laparoscopic grasper."

Step 2: Record the Reported Problem:

Provide detailed descriptions: "jaw does not close," "scissors tear tissue," "ratchet slips," "telescope is cloudy," or "bipolar arcing." Avoid vague notes like "not working."

2. Quarantine and Reprocess

Step 3: Quarantine the Instrument:

Attach a quarantine label with date, reporter's name, asset number, fault details, and decontamination status. Store in a designated quarantine area.

Step 4: Manage Contamination Safely:

Decontaminate, clean, disinfect, or sterilize the instrument according to infection control guidelines. Lumens must be flushed. The FDA describes reprocessing as a multistep process; visual cleanliness is not enough. FDA: Reprocessing of reusable medical devices.

Visual & Mechanical Inspection Checklist

  • ☐ Instrument product code and asset details are readable
  • ☐ Shaft is straight and free from cracks or pitting corrosion
  • ☐ Screws, hinge pins, and joints are secure
  • ☐ Handle opens and closes smoothly without excessive play
  • ☐ Rotation control is stable and does not bind
  • ☐ Jaws meet correctly, and tips align symmetrically
  • ☐ Jaws serrations, teeth, or tungsten carbide inserts are intact
  • ☐ Connectors, stopcocks, and flush ports are undamaged

Graspers & Scissors Repair Checklist

Laparoscopic Graspers:

Inspect jaw closing force, alignment, teeth wear, rotational control, handle ratchet lock, and shaft insulation. Do not correct jaw alignment using workshop tools.

Laparoscopic Scissors:

Check blade overlap, pivot tension, distal tip chips, and cutting performance. Test whether they tear or fold tissue. Repeated sharpening alters blade geometry; replace inserts when needed.

Needle Holders & Trocar Checklist

Needle Holders:

Check for needle slippage, worn tungsten carbide jaw inserts, ratchet tension, release mechanisms, and rotation play. Do not test rebuilt holders using unsafe materials.

Trocars and Cannulas:

Inspect obturator tips, cannula straightness, primary and reducer seals, valve actions, stopcocks, and gas leakages. Disposable trocar components should not be repaired.

Suction, Monopolar & Bipolar Checklist

Suction-Irrigation Instruments:

Confirm lumen patency, trumpet-valve spring return, O-ring seals, tubing connection leaks, and flow rate after servicing. Do not clear blocks with force.

Monopolar & Bipolar Energy:

Inspect shaft insulation (requires electrical integrity testing), connector pins, arcing damage, and cable continuity. Bipolar separators must prevent shorting. Do not repair cables with tape.

Endoscopic Optics

Telescopes, Light Cables and Veress Needles

Rigid Laparoscope / Telescope Inspection

Telescopes are highly sensitive optical assemblies. Inspect for:

  • Cloudy image or optical distortion • Distal lens scratches
  • Bent outer tube • Internal moisture or seal failure
  • Light-post adapter damage • Loose eyepiece
  • Fiber pattern dark spots • Sheath locking alignment

Do not polish lenses, open the telescope or attempt to straighten the tube. Send for specialist optical evaluation.

Light Cables & Reusable Veress Needles

Fibre-Optic Light Cables:

Check for reduced light output, dark spots (damaged fibers), cracked outer covers, loose adapters, and connector compatibility. Avoid tight coiling or kinks.

Reusable Veress Needles:

Inspect shaft straightness, outer tip sharpness, blunt stylet spring action, gas exit port blockages, Luer-lock stopcocks, and decontamination status.

Risk Management

When to Repair, Replace and Service Safety

Repair vs Replacement Guidelines

When to Repair:

If the manufacturer permits servicing, the fault is isolated, compatible parts are available, original specs can be restored, and testing can be completed within a reasonable cost.

When to Replace:

If critical components are cracked, severe corrosion/pitting is present, insulation cannot be reliably tested, parts are unavailable, or maximum service life/failure rate is exceeded.

Servicing vs Altering the Device

A repair should restore the device to its originally documented specifications. An unapproved change that alters dimensions, materials, or intended use may carry different regulatory implications. FDA servicing and remanufacturing guidance distinguishes maintenance from remanufacturing. Indian hospitals must follow CDSCO rules, contracts, and manufacturer instructions. FDA: Remanufacturing and servicing medical devices.

Questions to Ask a Repair Provider

Before dispatching instruments, verify:

  • Do you have experience with this specific model and brand?
  • Will insulation, electrical, and mechanical tests be completed?
  • Will a post-repair test report and warranty be supplied?
  • What parts will be replaced, and will original designs change?
  • What is the expected turnaround time and transit tracking?

Do not approve quotations stating only "general repair" without component-wise details.

Post-Repair Acceptance Checklist

Upon return, the hospital biomedical team must check:

☐ Match to dispatch records and confirm serial/asset numbers. • ☐ Check all parts and review mechanical/electrical test results. • ☐ Inspect surface finish, jaw alignment, rotation smoothness, stopcock flows, and insulation integrity. • ☐ Perform hospital acceptance trials and update the service register logs.

The repair provider's "working" label does not replace the hospital's independent acceptance process.

Manufacturing Excellence

Laparoscopic Instrument Repair Support from Bharat Surgical

Bharat Surgical provides repair and service support for available laparoscopic, urology, gynecology, micro and general surgery instruments.

Repairability, required tests, replacement parts, cost and turnaround depend on the exact product and condition. Inspection is required before quoting.

ISO 13485:2016 Certified Quality Management System
ISO Registration Number: RQMD91/11579 (Expiry: 11 Sept 2027)

CE Certificate No. 9277
Scope: Manufacture of laparoscopy, urology, ophthalmic, gynecology, neuro, ENT, orthopaedic and general surgery instruments. (Expiry: 15 April 2028)

GSTIN: 27ADFPA5321C1ZA (Maharashtra)

Bharat Surgical Co. will not repair an instrument when safe and documented performance cannot reasonably be restored. In such cases, replacement will be recommended.

Repair / Service Request Details

Include the following in your request:

  • Hospital or clinic name • Contact person
  • Instrument name • Manufacturer • Code
  • Serial or asset number • Working diameter
  • Working length • Jaw/tip pattern
  • Reported fault details (when it occurs & frequency)
  • Associated generator, camera, or stack equipment
  • Photographs of the damage • Decontamination declaration
  • Previous repair history • Turnaround requirements
  • Estimate-approval limits • Delivery PIN code
Got Questions?

Frequently Asked Questions

Quick answers to common questions about surgical instrument servicing and repair checklists.

Send it for assessment when jaws, handles, ratchets, shafts, valves, insulation, connectors, optics or flow do not perform as intended.

No. Remove, label and quarantine it so that it cannot be selected for another procedure.

Follow the hospital’s infection-control process and the repair provider’s decontamination requirements before internal assessment or external transport.

Only a qualified repair provider should assess whether it can be restored within specification. Uncontrolled bending can damage internal mechanisms or insulation.

Some reusable scissors can be serviced, but repeated sharpening may alter blade geometry. Repairability depends on the design and condition.

Some instruments may support an approved insulation-repair process. The repaired instrument requires appropriate integrity and electrical testing before release.

Not always. Small defects may require approved insulation-testing equipment and a documented test process.

No. Tape is not an acceptable medical-device cable repair. Remove the cable from use and obtain qualified assessment.

Possible causes include worn serrations, jaw misalignment, linkage wear, hinge damage or excessive play.

The blades may be dull, misaligned, loose or damaged. The instrument should be inspected and serviced or replaced.

Some reusable trocar systems have replaceable seals. Use only documented compatible parts and verify leakage after replacement.

Possible causes include lumen blockage, valve damage, incorrect assembly, leakage or a faulty tubing connection.

It may require specialist optical assessment. Cloudiness can result from surface contamination, damaged lenses, internal moisture or optical-system damage.

Replace or service it when it has damaged covering, connectors, heat damage or inadequate light transmission that cannot be restored.

No. Compare repair cost, remaining service life, repeated failure, warranty, downtime and the ability to restore documented performance.

It should identify the instrument, fault, work performed, parts replaced, tests completed, results and repair warranty.

Release should follow the hospital’s approved process involving authorized CSSD, biomedical engineering, clinical or quality personnel as applicable.

Inspection frequency should follow the manufacturer’s instructions, hospital policy, instrument risk, use and repair history.

Bharat Surgical provides assessment and repair support for available instrument categories. Final repairability depends on the product, condition and required tests.

Send the instrument name, manufacturer, product code, size, reported fault, photographs, service history and decontamination status.

Request a Repair Assessment

Send Bharat Surgical the instrument name, manufacturer, product code, fault details, photographs and service history.

Chat on WhatsApp